If you’re wondering how to make a magic wand from scratch, this guide walks you through every step—choosing the right wood, shaping and decorating it safely, then blessing, naming, and caring for your wand so it serves your practice for years.
Updated: September 14, 2025TL;DR – Quick 5-Step Overview
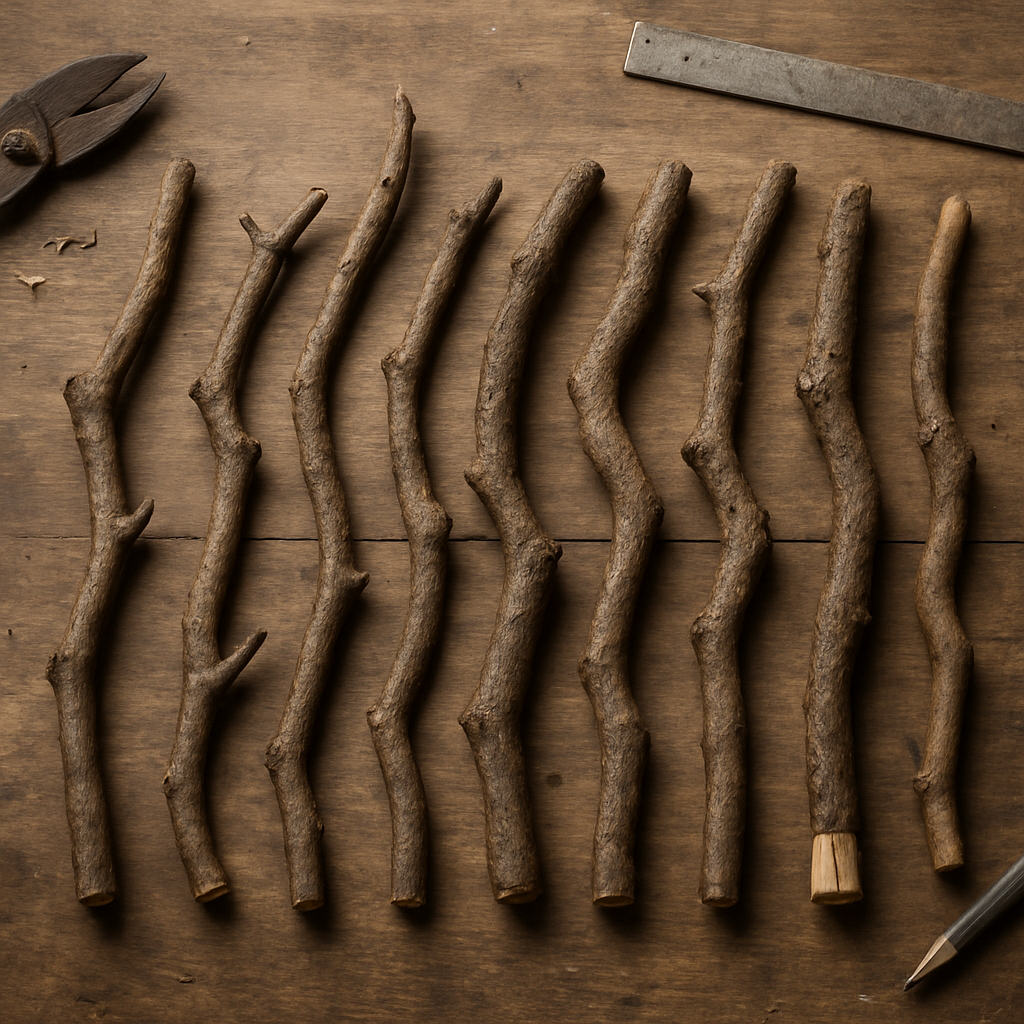
- Choose wood (fallen branch, ~25–35 cm). Match to intent (e.g., oak for strength, willow for intuition).
- Shape (trim, debark, gently taper) and sand smooth from coarse to fine grits.
- Cleanse (smoke, salt, moonlight) to reset previous energies.
- Decorate (natural finishes, crystals, cord, runes) with safe, long-lasting materials.
- Bless & name the wand; store wrapped and dry. Re-cleanse after heavy use.
Why Make Your Own Wand?
Making your own wand weaves intention into every fiber. Compared with buying, crafting creates a strong energetic bond. Many practitioners find a self-made wand more responsive in circle work, divination, and spell casting. If you’re early in your practice, jar spells can be a great parallel project while you learn how to make a magic wand.Tip: Keep your first wand simple. Master clean shaping, smooth sanding, and a gentle natural finish before attempting elaborate carving or inlay.
Best Woods & Correspondences
Choose a naturally fallen branch whenever possible. Below are traditional correspondences (adapt to your path as needed):- Oak: strength, protection, leadership.
- Willow: intuition, lunar energy, healing.
- Hazel: wisdom, inspiration, divination.
- Ash: balance, transformation, communication.
- Rowan: protection, foresight, creativity.
- Birch: new beginnings, purification.
- Hawthorn: heart, boundaries, fairy lore.
- Maple: versatility, learning, adaptability.
Tools & Materials Checklist
- Fallen branch (straight, comfortable length)
- Pruning saw or small hand saw (for trimming)
- Whittling knife or craft knife (for shaping)
- Sandpaper: 80/120/220/400 grits
- Natural finish: tung oil, linseed, or beeswax balm
- Optional decor: cotton/hemp cord, leather strip, eco-safe glue, crystal cabochons, copper/bronze wire, wood-burning tool
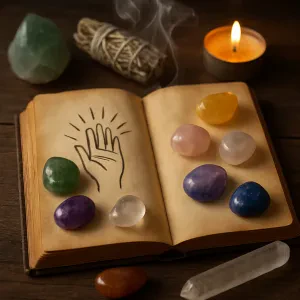
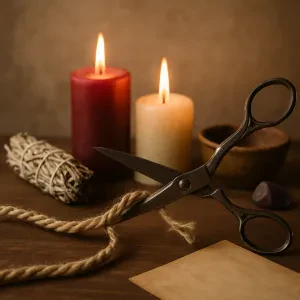
- For cleansing/blessing: incense (e.g., rosemary), salt, small bowl of water, candle
- Soft cloth or pouch for storage
Magic Incense Gift Set: Positive Vibes Collection
Elevate your space with enchanting scents that promote happiness and harmony
Product information
$10.99 $6.95
Product Review Score
4.33 out of 5 stars
167 reviewsProduct links
Safety First
- Carve away from your body; go slow and keep fingers behind the blade.
- Sand in a ventilated area; consider a dust mask with fine sanding.
- Use food-safe, natural finishes (avoid harsh solvent varnishes for ritual tools).
- If wire-wrapping, file the sharp ends and secure them under windings.
Never cut living branches on public or protected land without permission. Harvest respectfully, and leave offerings if that aligns with your path.
How to Make a Magic Wand (Step-by-Step)
1) Select & Prepare the Wood
Walk in a familiar place—park, woodland, backyard—and let intention guide your choice. Look for a fallen branch that feels lively in your hand. Check soundness: minimal cracks, no soft rot, and straight grain. Trim to length with a clean saw cut on the base end.2) Debark & Rough Shape a DIY Wand
If bark is loose, remove it with a dull knife or the back of a blade. Leave bark on if you love the texture. For a classic profile, gently taper the tip and keep the handle slightly thicker for grip. Aim for ergonomic comfort; wands benefit from a hint of wildness.3) Sand Smooth (Coarse → Fine)
Start with 80–120 grit to remove tool marks. Then 220 to refine, and 400 for a silky finish. Always sand along the grain. Run fingers along the shaft to find missed rough spots; your hand is the best quality control when learning how to make a magic wand.4) Cleanse the Blank
Before decorating, reset stored energies. Pass the wand through cleansing smoke (rosemary, cedar, or frankincense) and visualize old imprints dissolving. Alternatives: place it on a bed of salt overnight or leave it in moonlight (full moon is ideal).5) Decorate with Intention
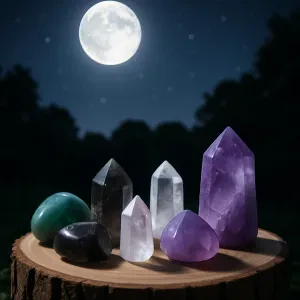
Less can be more. Choose one or two meaningful accents rather than overloading. Examples:- Crystal tip or pommel: amethyst (intuition), clear quartz (amplification), rose quartz (compassion).
- Cord wrapping: a spiral wrap to direct energy; knots counting intentions or phases.
- Runes/sigils: wood-burn or paint with eco-safe pigments. See symbol meanings for ideas.
- Metal wire: copper for conductivity; keep ends tucked and smoothed.
If gluing crystals, use a small amount of non-toxic, clear-drying adhesive and allow full cure time before use.
6) Finish & Seal Your Magic Wand
Apply a light coat of tung oil, raw linseed, or beeswax balm. Wipe off excess after 10–15 minutes and let it cure. Multiple thin coats protect better than one thick coat and keep a tactile, natural feel.7) Consecrate, Bless & Name
Consecration invites your wand into sacred service. Below is a simple, tradition-agnostic ritual you can adapt:- Cleanse your space; ground and center.
- Place four simple elements: a bowl of water, a dish of salt, a candle (fire), and incense or a feather (air).
- Hold the wand and state your intention (e.g., “To channel clarity, protection, and compassion in all workings”).
- Pass the wand through each element, speaking a line that feels true (e.g., “By air, may my words be clear”).
- Speak a name for the wand and breathe gently along its length to “wake” it.
- Close with gratitude; store it wrapped in natural cloth.
Once your wand’s ready, try these nine step-by-step spells!

Wand Cores & Energetics: Do You Need One?
Some practitioners like adding a “core” to their DIY wand—hair, thread, herb bundle, or a thin sliver of crystal—running along the shaft or seated in the handle. While not required, a core can anchor a theme. For example, lavender for calm, rosemary for protection, or a thin copper wire for conductivity. If you add a core, secure it safely and re-consecrate, since you’ve altered the tool’s energetic architecture. From a practical perspective, balance matters: don’t over-weight the tip with heavy stones. If you want a crystal focus, you can seat a small cabochon in the pommel or use a slender point at the tip rather than a thick cluster.Decoration Ideas & Symbolism
Many practitioners decorate to align with a purpose:- Protection: oak + blunted iron nail head (sealed) + black cord + Algiz rune.
- Intuition: willow + amethyst point + silver thread + crescent moon sigil.
- Healing: birch + rose quartz + green hemp cord + spiral motif.
- Communication: ash + blue apatite + copper wrap + Mercury glyph.
How to Bless, Consecrate & Name Your Wand
If your path includes deities/spirits/ancestors, invite them respectfully. If your practice is secular, focus on breath, visualization, and spoken intention. Naming is optional but often deepens connection—choose a name that reflects purpose, not just appearance.Tip: Re-consecrate after major changes (e.g., adding a crystal) or after intense workings where the tool feels “heavy.”
Care, Storage & Re-Cleansing
- Store wrapped in cotton/linen or in a padded box, away from excess heat and humidity.
- Wipe with a soft cloth after use; refresh beeswax or oil every few months.
- Re-cleanse after heated rituals, illness, conflict work, or whenever it feels “dull.”
- If a crystal loosens, remove, clean, and re-affix; avoid forcing fittings that may split wood.
Troubleshooting & Common Mistakes When You Make a Magic Wand
- Wood splits while drilling/setting a stone: Stop immediately. Wick thin wood glue into the crack, clamp lightly, let cure fully, then re-assess. Consider relocating the crystal to the pommel.
- Finish stays tacky: You used too much oil/wax or humidity is high. Wipe thoroughly, allow more cure time, and switch to very thin coats.
- Wand feels unbalanced: Reduce tip weight, add subtle pommel mass (small cabochon), or slightly shorten the shaft from the base end.
- Energy feels “muddy”: Re-cleanse, simplify decorations, or remove conflicting symbols. Then re-consecrate and re-name if it feels like a new phase.
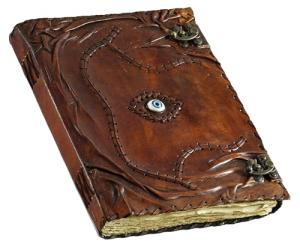
Magical Hocus Pocus Spell Book - Enchanting Gift
Bring enchantment into your world with the Magical Hocus Pocus Spell Book, the perfect enchanting gift for any witchcraft and Wicca enthusiast
Product information
$29.99
Product Review Score
4.4 out of 5 stars
271 reviewsProduct links
Related Guides to Explore
Prefer to buy? Choose sustainably made tools from artisans who disclose materials and finishes.FAQ: Making & Using Magic Wands
- What length should my wand be?
- Most people prefer 25–35 cm (10–14 in). Choose what balances in your hand and suits your practice.
- Can I use driftwood?
- Yes—if it’s dry, sound, and free of salt residue (rinse and fully dry). Driftwood brings water and journey symbolism.
- Do I need a crystal tip?
- No. A plain wooden tip is perfectly effective. Crystals can add qualities but are optional.
- How do I know the wand is “ready”?
- It feels alive in the hand—balanced, responsive, and calm. If it feels dull, re-cleanse or adjust decoration.
- Could I use reclaimed furniture wood?
- Absolutely, provided it’s not treated with harsh chemicals and you sand/finish safely. Reclaimed wood carries history and resilience.
Further Reading & Inspiration